Quickstart
Add voice and data plan connectivity into your products and start developing your Gigs integration.
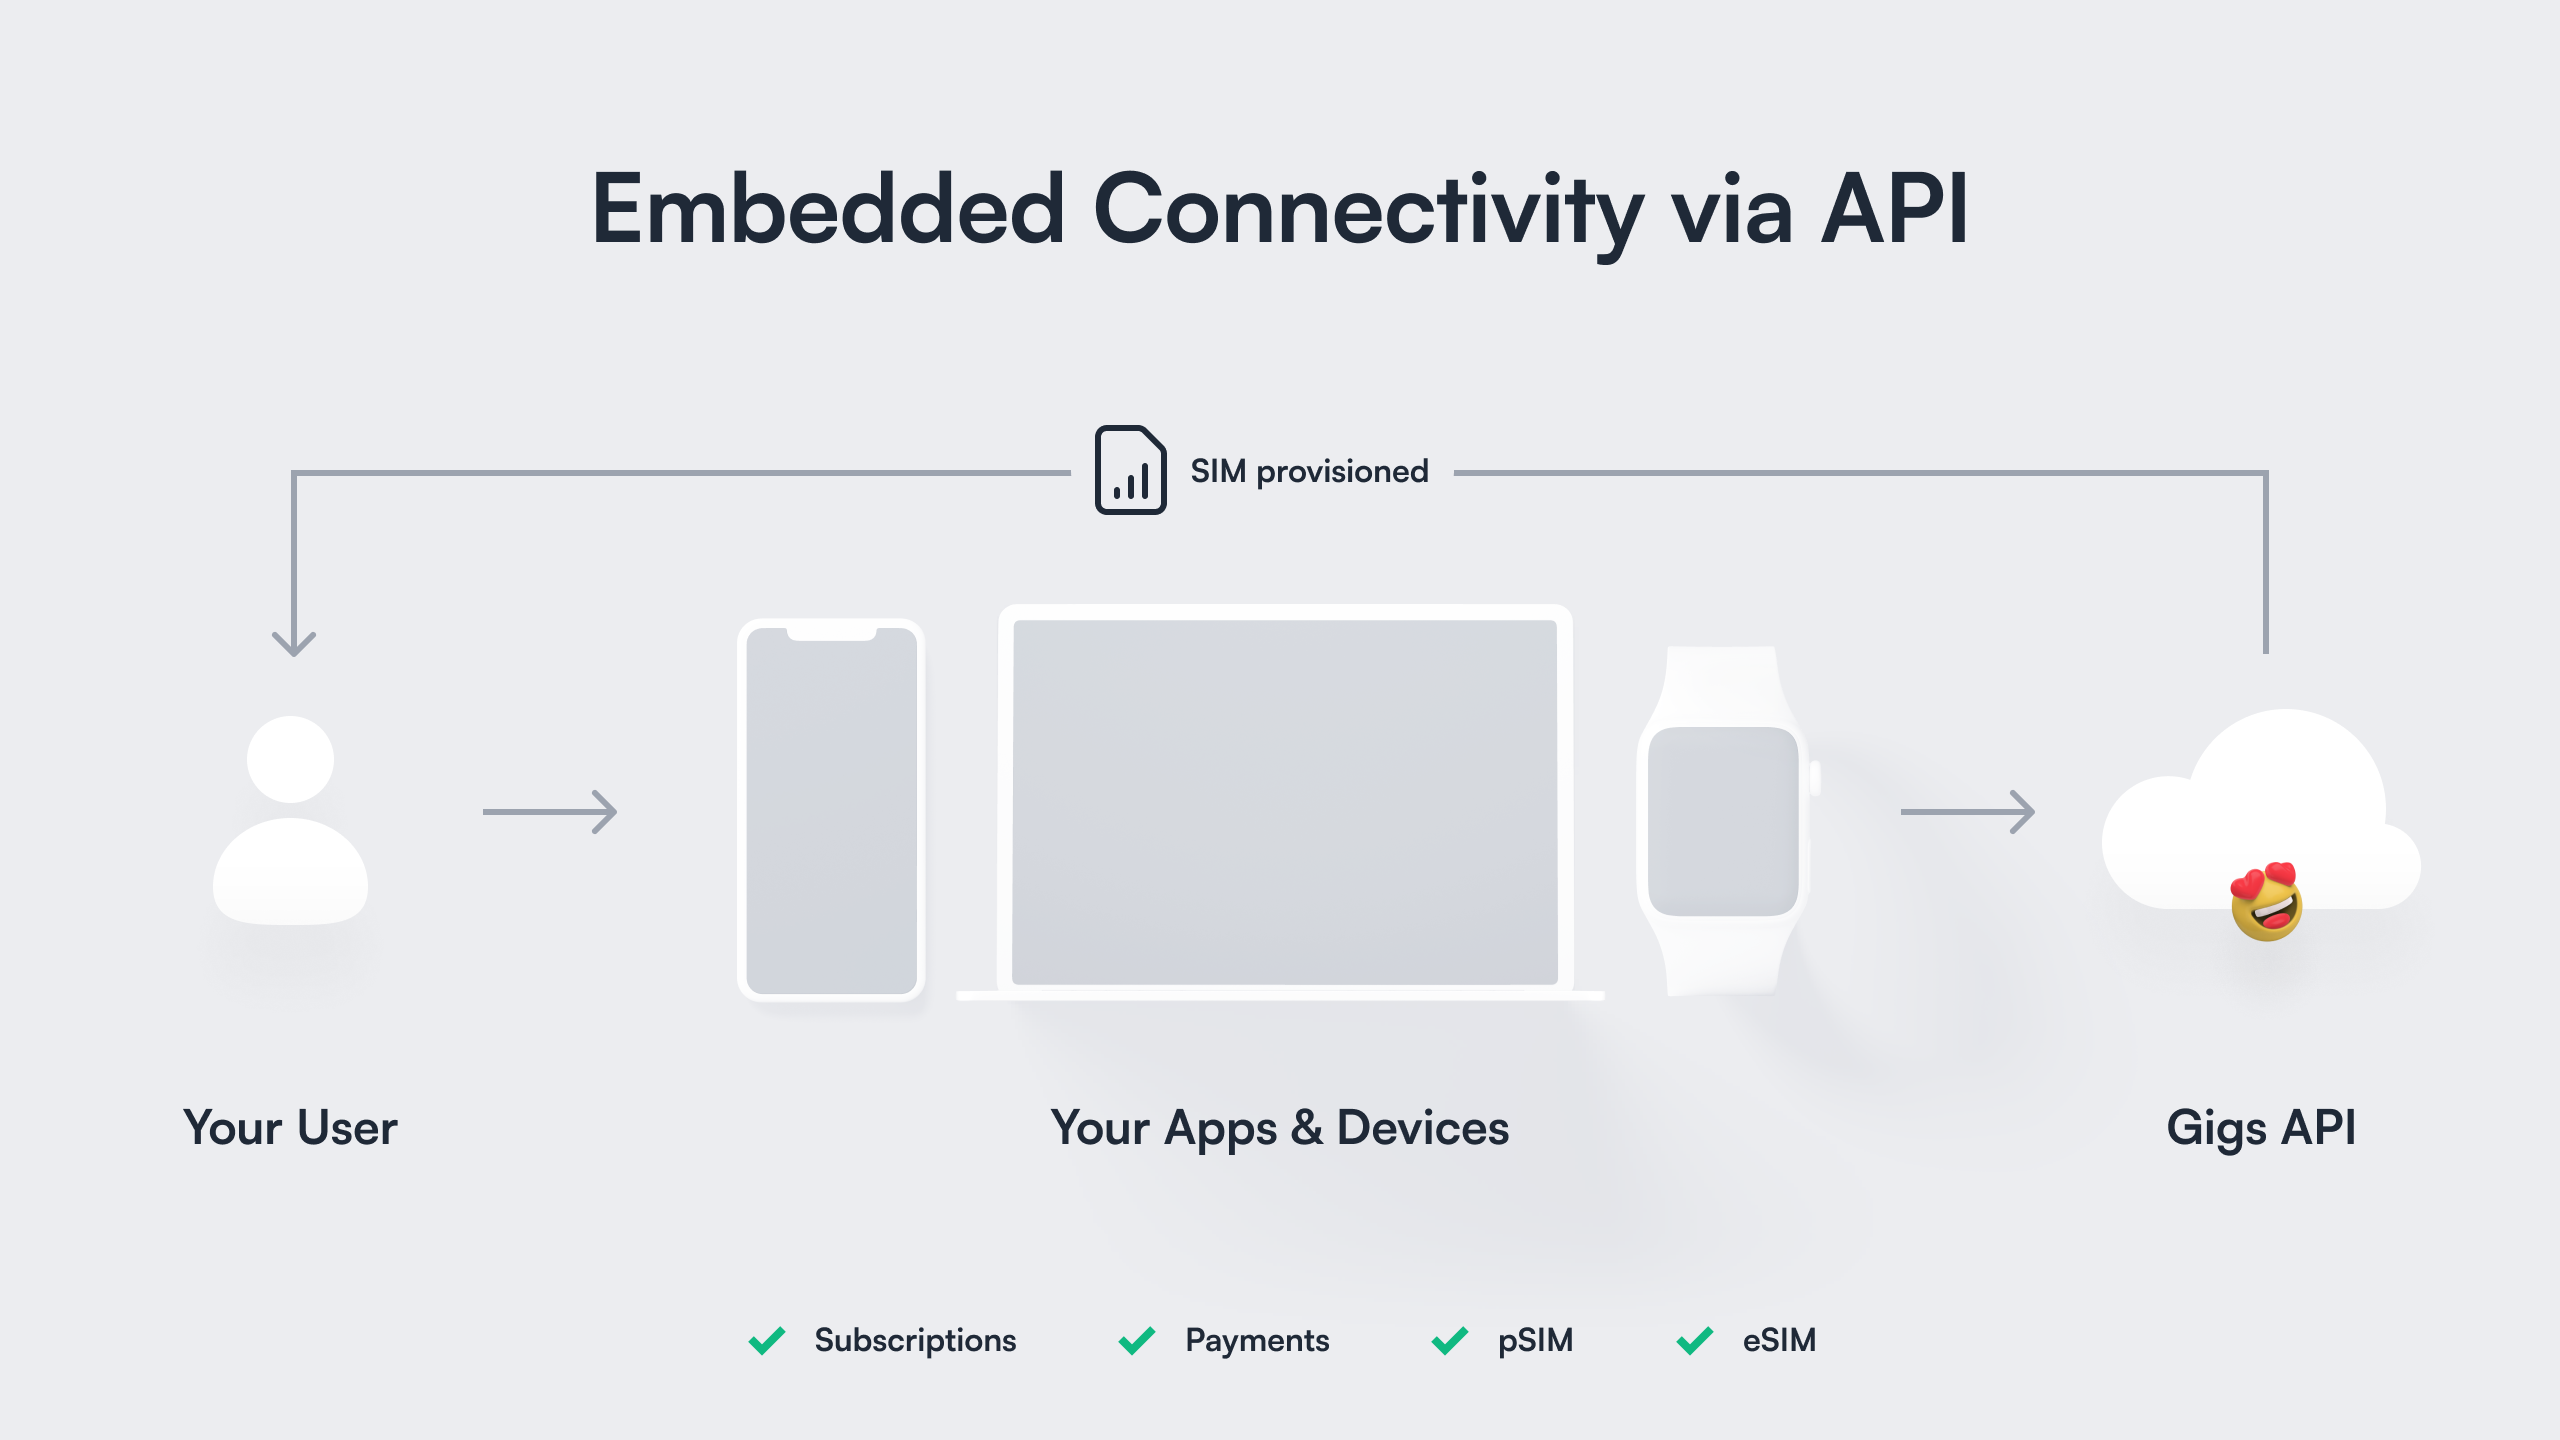
Overview
Let's jumpstart your Gigs integration in a few easy steps:
1️⃣ Get your Gigs API key so that we can authenticate your requests
2️⃣ Make an API request to see Gigs in action
Status page
If you run into any issues when trying to use the Gigs API, check out our status page, or reach out to support@gigs.com for assistance.
1. Getting an API key
Gigs uses API keys to authenticate your requests. Your organization can have multiple projects (e.g. production, test, experiment) and each will come with a unique API key. Please contact us to set up your first project for your organization: support@gigs.com.
Once we set up one or more projects in your organization, you can manage the API keys yourself in the developers section of the Gigs Dashboard.
Security
An API key provides full access to all the data in a project. Please keep your API key secret at all times, don't hardcode it in code repositories and don't share it with others. More information on authentication and API keys in the authentication section.
2. Making an API request
Now that you have your API key, you will probably hack away on your application in your favorite language.
Let's look at the fundamentals first, just firing out some commonly known cURL requests.
The Gigs API is perfect for doing that, since it's running with REST's best practices and the developer experience in mind. Take a look at our docs regarding pagination and error handling.
Let's use the API key to get a list of your projects, in the following examples we will refer to the API key as the
${GIGS_TOKEN}. Let's use the token to get a list of your projects:
GET projects with the Gigs Core API - cURL.
curl --request "GET" \
  --url "https://api.gigs.com/projects" \
  --header "Accept: application/json" \
  --header "Authorization: Bearer ${GIGS_TOKEN}"
If the request is successful, you should receive a response similar to the following:
A successful response after listing the projects.
{
  "object": "list",
  "items": [
    {
      "object": "project",
      "id": "gigs",
      "name": "Gigs Connect",
      "settings": {...}
    }
  ],
  "moreItemsAfter": null,
  "moreItemsBefore": null
}
From the truncated response its clear to see that there is currently only one project with an id of "gigs". A full list of the return attributes for the /projects endpoint can be seen in our projects documentation.
Let's use the above project id to get a list of plans associated to this project. We will pass in the id via the ${GIGS_PROJECT} variable:
GET plans with the Gigs Core API - cURL.
curl --request "GET" \
  --url "https://api.gigs.com/projects/${GIGS_PROJECT}/plans" \
  --header "Accept: application/json" \
  --header "Authorization: Bearer ${GIGS_TOKEN}"
A successful request will result in the following truncated response:
A successful response after listing the plans.
{
  "object": "list",
  "items": [
    {
      "object": "plan",
      "id": "pln_0SNlurA049MEWV3V0q7gjQbM4EVo",
      "name": "Gigs Global",
      "description": "A data plan you will love! Operates in most countries of the world.",
      "allowances": {
        "dataBytes": 10000000000,
        "voiceSeconds": 30000,
        "smsMessages": 3000
      },
      "coverage": {...},
      "price": {...},
      "provider": "p9",
      "requirements": {"address": "present"},
      "simTypes": ["eSIM", "pSIM"],
      "status": "active",
      "validity": {...}
    }
  ],
  "moreItemsAfter": null,
  "moreItemsBefore": null
}
A full breakdown of the plans response can be seen in our plans documentation.
Next steps
Now that you have the basics setup and have seen a bit of the Gigs API in action, you can get going with providing connectivity to your users!
Depending on your use case you might want to...
🚀 Activate your first eSIM subscription for one of your customers with just 3 API calls!
🪝 Explore Gigs events and webhooks to see how resources change and be notified about these changes.
📲 Activate SIM cards inside devices that were inserted into devices before shipping them.
Support
We absolutely love feedback! Mail support@gigs.com for any support inquiries, questions or ideas.